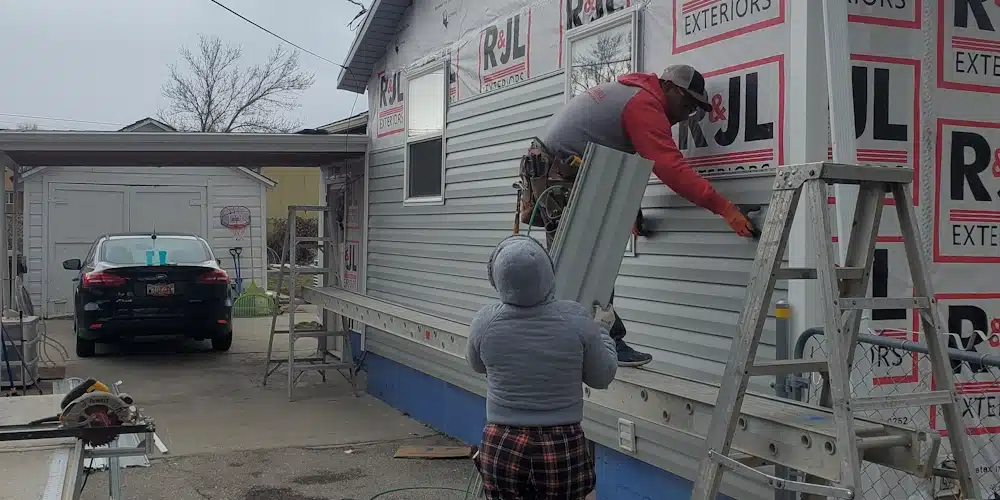
Are you considering removing the siding from your home? If so, you’ve come to the right place! At Utah Siding & Exteriors, we understand that removing siding can be a daunting task, but with the right guidance, it can be done safely and effectively. In this step-by-step guide, we will walk you through the process of safely removing siding from your home, ensuring that you have all the information you need to successfully complete the project. So, let’s get started!
Gather the Necessary Tools and Materials
Before you begin the Siding Removal process, it’s important to gather all the necessary tools and materials. Here’s a list of what you’ll need:
– Safety goggles
– Gloves
– Utility knife or siding removal tool
– Pry bar
– Hammer
– Power drill
– Tarp or drop cloth
– Trash bags
Having these tools and materials ready will help make the siding removal process much smoother and more efficient.
Inspect the Siding
Before you start removing the siding, take some time to inspect its condition. Look for any signs of damage, such as cracks, rot, or mold. If you notice any significant damage, it may be necessary to hire a professional to assess and repair the siding. However, if the siding is in good condition, you can proceed with the removal process.
Additionally, make sure to check for any electrical wires or plumbing lines that may be hidden behind the siding. It’s crucial to be aware of these potential hazards before you start removing the siding to avoid any accidents or damage.
Prepare the Work Area
Before you begin removing the siding, it’s essential to prepare the work area. Start by clearing any obstacles or debris around the perimeter of your home. This will provide you with enough space to move around and work safely.
Next, lay down a tarp or drop cloth to catch any falling debris or nails. This will help protect your lawn or landscaping from damage and make cleanup easier. Additionally, consider covering any fragile plants or objects near the work area to prevent them from getting damaged during the siding removal process.
Remove the Trim
The first step in removing siding is to take off the trim. Start by using a utility knife or siding removal tool to cut through the caulking or paint between the trim and the siding. This will help loosen the trim and make it easier to remove.
Once the caulking or paint is cut, use a pry bar and hammer to carefully remove the trim. Start at one end and work your way down, applying gentle pressure to avoid damaging the siding or surrounding areas. If the trim is nailed in place, use a power drill to remove the nails.
Detach the Siding Panels
With the trim removed, it’s time to detach the siding panels. Start at the bottom of the wall and locate the first panel. Use a pry bar to carefully loosen the panel by inserting it between the panel and the wall. Apply gentle pressure to lift the panel away from the wall.
Once the first panel is detached, move on to the next one by repeating the same process. Continue working your way up the wall, detaching each panel one by one. Be cautious not to force the panels or use excessive pressure, as this can cause damage to the siding or the underlying structure.
Dispose of the Old Siding
As you remove each siding panel, place them on the tarp or drop cloth to prevent them from causing damage or creating a tripping hazard. Once all the panels are detached, carefully roll up the tarp or drop cloth and dispose of the old siding in a trash bag or appropriate container.
It’s important to handle the old siding with care, as it may contain sharp edges or nails. Make sure to wear gloves and use caution when handling and disposing of the old siding.
Clean and Inspect the Wall
After the old siding is removed, take some time to clean and inspect the wall. Use a broom or brush to remove any dirt, dust, or debris that may have accumulated during the removal process. This will ensure a clean surface for any future Siding Installation.
Once the wall is clean, inspect it for any signs of damage or moisture. If you notice any issues, it’s crucial to address them before installing new siding. Repairing any damage or addressing moisture problems will help ensure a long-lasting and durable siding installation.
Contact Utah Siding & Exteriors for a Free Quote
Removing siding from your home can be a challenging task, but with the right guidance and tools, it can be done safely and effectively. If you’re in need of professional assistance or would like to learn more about our siding services, don’t hesitate to contact Utah Siding & Exteriors. We have a team of experienced professionals ready to help you with all your siding needs. Call us today at 801-509-9241 to Request a Free Quote and get started on your siding project!


