If you’re staring at cracked, stained, or crumbling stucco in Salt Lake City and thinking, “Maybe siding would be easier,” you’re not alone. Replacing stucco with siding is a popular move—especially around here, where freeze-thaw cycles and afternoon sun can turn stucco into a maintenance headache. But here’s the thing: it’s both simpler than you expect and trickier than it looks. You can save money and get a more modern look, yet one missed detail (like flashing) can mean big trouble down the road. Let me explain how to do it right—what to do, what not to do, and why small choices matter more than you might think.
Who this is for (and why it matters)
This article is for homeowners and business owners in Salt Lake City who are weighing the pros and cons of replacing exterior stucco with siding. Whether you’re renovating to boost curb appeal, fix moisture problems, satisfy an HOA, or reduce maintenance, you’ll find practical guidance here. I’ll mix a bit of trade jargon with plain talk—so you can make smart decisions without getting lost in technical terms.
Do these things first — the practical must-dos
Here’s the good news: most siding systems are forgiving if the prep work is done properly. Do these steps first and you’ll avoid most regrets.
Get a proper inspection. Before you rip anything off, hire a contractor who will check for moisture, rotted sheathing, and the condition of the lath or underlying studs. Sometimes the damage is deeper than the stucco surface.
Test for hidden problems. Older stucco assemblies can conceal trapped moisture, insect damage, or incompatible layers (think: tar paper under old stucco). Moisture meters and probe testing are cheap compared to replacing rotten framing later.
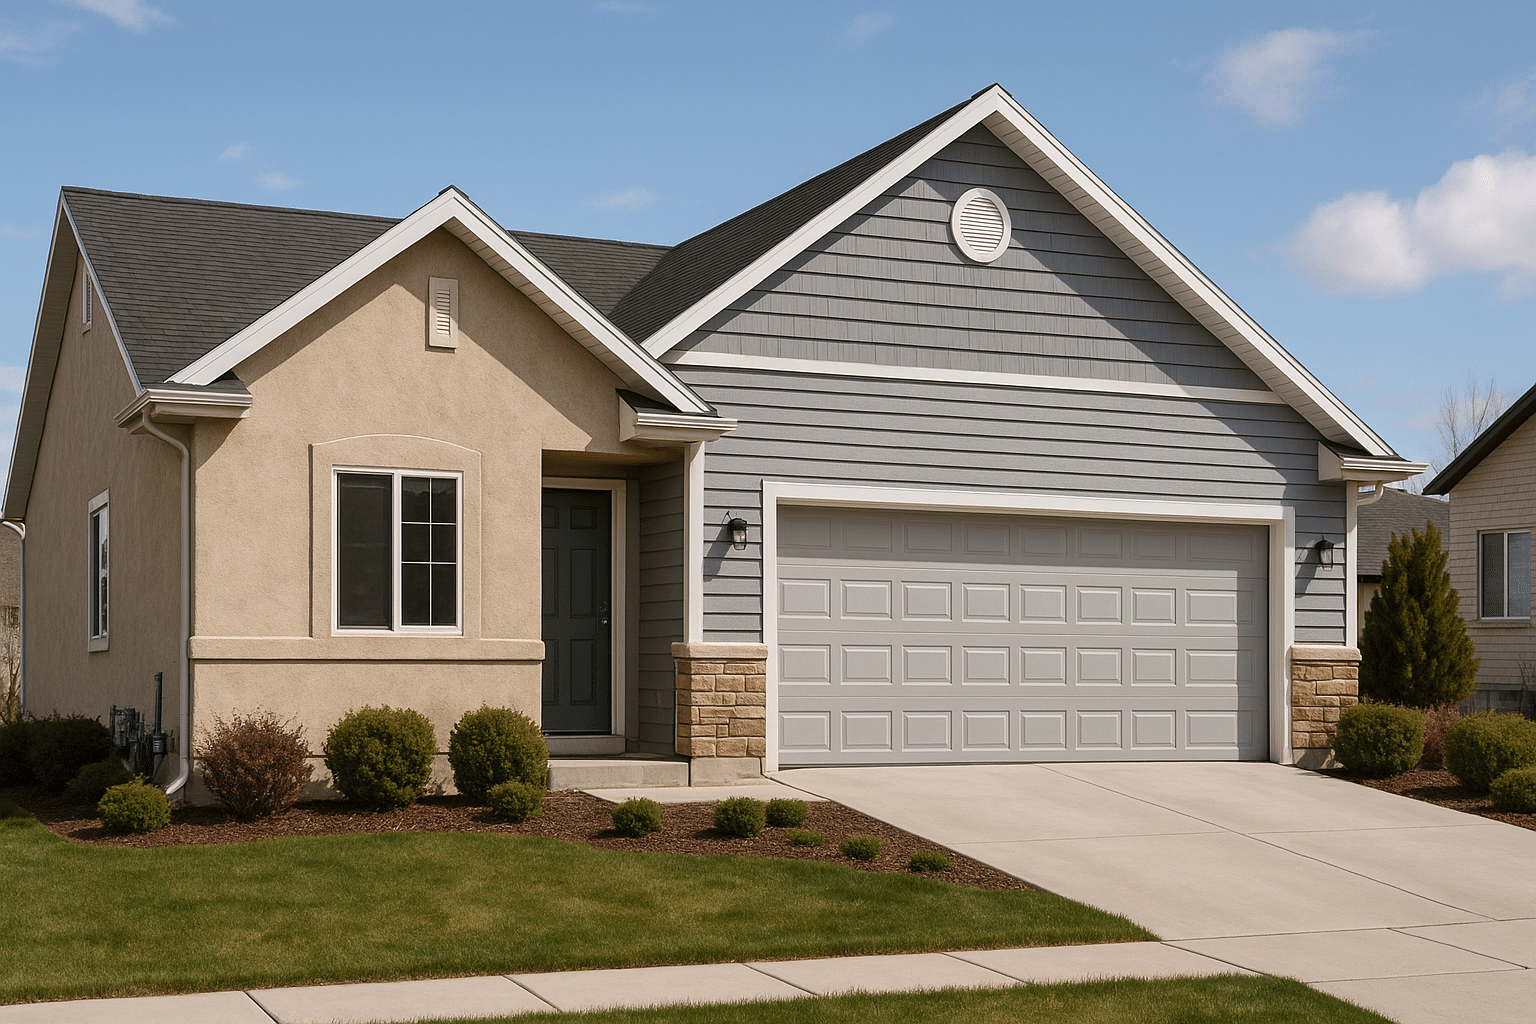
Choose the right siding for Salt Lake City climate. Vinyl is affordable and low-maintenance. Fiber cement
Plan the wall build-up—don’t just slap siding on stucco. Proper installation usually means removing the stucco, repairing or replacing damaged sheathing, adding a water-resistive barrier (housewrap), installing furring strips or a rainscreen, then putting on siding. Rainscreens matter—a lot. They give moisture a place to drain and let the wall breathe.
Upgrade flashing and window/door details. Flashing is boring, but missing or incorrect flashing is the number-one cause of leaks. Make sure window sills, head flashings, door thresholds, and roof-to-wall transitions are reworked for the new cladding.
Address insulation and energy. You can add exterior rigid foam to improve R-value and reduce thermal bridging. That’s an easy win for comfort and energy bills—especially in chilly SLC winters.
Don’t do these things — common mistakes that cost time and money
Some mistakes look harmless until they cause headaches. Avoid these pitfalls.
Don’t assume all stucco comes off cleanly. You might expect a tidy demolition, but old stucco can be rock-hard or bonded to lath and plaster that pulls off in shards. That means dust, loud demolition tools, and sometimes unexpected repair of studs or sheathing.
Don’t skip the water-resistive layer. A new siding system without a proper WRB (water-resistive barrier) or flashing is like wearing a rain jacket with holes—pointless. It might look fine for now but next winter you’ll be fighting rot.
Don’t mix incompatible materials. For example, pairing untreated wood trim with low-grade metal flashing invites corrosion or rot. Use materials meant to work together; manufacturers like CertainTeed and James Hardie provide compatibility guidance.
Don’t underestimate structural repairs. Sometimes the sheathing or framing is damaged. Tacking new siding onto rotten wood is a short-term fix that creates bigger problems.
Don’t DIY giant jobs unless you really know the trade. A small section can be a DIY weekend, but full-house removal and re-sheathing is noisy, messy, and technical—permits, inspections, and code compliance matter.
How it usually happens—step by step
Want a quick roadmap? Here’s a typical flow from demo to done. Timelines vary, but this gives you a realistic picture.
1. Demo and assessment: Remove stucco and inspect framing. Expect dust, noise, maybe some surprises.
2. Repair and sheathing: Replace rotted sheathing, fix framing, install new exterior-grade sheathing if needed.
3. Weather barrier and drainage plane: Install housewrap, flashing, and a rainscreen or furring strips to create an air gap.
4. Insulation (optional): Add rigid foam or continuous insulation if energy upgrade is part of the plan.
5. Siding Installation: Install chosen siding per manufacturer instructions—proper fasteners, spacing, and clearances all matter.
6. Trim, paint, and seal: Finish corners, window trim, and paint or stain where required. Seal joints and penetrations.
7. Final inspection and cleanup: Make sure flashing works, gutters tie in properly, and the job site is cleared.
Quick comparison (material choices at a glance)
| Material | Pros | Cons |
|---|---|---|
| Vinyl | Affordable, low maintenance, wide color choices | Less durable in high heat; color can fade; looks cheaper to some buyers |
| Fiber cement | Durable, fire-resistant, holds paint well (James Hardie is a popular brand) | Heavier, higher upfront cost, needs proper fastening and cuts produce silica dust |
| Engineered wood | Warm appearance, good price-to-look ratio, easier to install | Requires painting/staining over time, can be moisture-sensitive if not detailed correctly |
Costs, timing, and those minor shocks
Here’s the part everyone asks about: how much and how long. Honest ranges for a typical Salt Lake City single-family home:
Expect anywhere from about $12,000 to $40,000 or more depending on siding choice, home size, and any needed structural repairs. Vinyl leans toward the lower end; fiber cement and engineered wood push you higher. Adding exterior insulation, complex trim work, or replacing windows will increase cost.
Timelines usually run 1 to 4 weeks for most homes—but if major framing work or permits are needed, add extra time. Weather matters. You don’t want demo in late October if a cold snap is coming; freezing conditions and open walls don’t play nice.
Common surprises: hidden rot, pest damage, stucco layers glued to old sheathing, or non-code flashing. Older homes (pre-1980s) might have materials that need special handling. You know what? That’s exactly why a thorough inspection and a good contractor matter.
Choosing a contractor—what to look for
Picking someone local is smart. They know Salt Lake City details—snow loads, freeze cycles, common architectural styles. Here are practical tips:
Check licensing and insurance. Make sure they’re licensed in Utah and carry General Liability plus Workers’ Comp.
Ask for references and photos of similar projects. A picture says more than a brochure. Call one or two past customers and ask about cleanup, timelines, and whether the finished product stayed watertight through a Utah winter.
Get a written estimate that breaks out supply, labor, and any allowances. Vague bids invite change orders later.
Confirm warranty and maintenance expectations. Some manufacturers require certified installers for warranty coverage—ask about that.
Final thoughts—and a slightly surprising truth
Replacing stucco with siding can dramatically change how your home looks and performs. It can lower maintenance, improve insulation, and modernize your curb appeal. Yet—contradiction alert—sometimes leaving stucco and repairing it carefully is the smarter choice, especially on historic homes where character is everything. So, a careful inspection and clear goals make the difference.
If you want a reliable partner who knows the Salt Lake City climate, local codes, and the practical tricks that separate a solid job from a future headache, call us. We’ll come out, assess your walls, and give you a clear, written plan and estimate—no surprises.
Utah Siding & Exteriors—we handle full stucco removal, wall rebuilds, and new siding installations with attention to flashing, WRB, and the details that matter most in our valley’s climate. Honestly, it’s the little things that keep water out and comfort in.
Ready to talk? Call 801-509-9241 or Request a Free Quote today. We’ll walk you through options, timelines, and costs—so you can decide with confidence.