Thinking about fresh siding that laughs off snow, sun, and those canyon winds? You’re in the right place. This step-by-step guide walks Salt Lake City homeowners and businesses through a clean, real-world process for Hardie Board Siding Installation. We’ll keep it friendly and clear, but tight enough for folks who speak construction. And if you’d rather leave the heavy lifting to pros, Utah Siding & Exteriors is right here in your backyard.
Why Hardie Board Works So Well In Salt Lake City
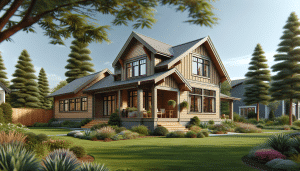
Hardie Board (also called James Hardie Fiber Cement Siding) stands up to freeze-thaw cycles, high UV, and gusty spring storms. It doesn’t rot, swell, or welcome pests. It’s also fire resistant, which brings a little peace of mind in dry summers. On top of that, it holds paint like a champ and cuts street noise, which is a nice bonus along busy corridors from Sugar House to West Valley.
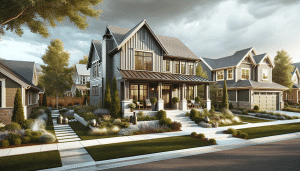
But the real kicker is value. Fiber cement siding often returns strong resale gains because it looks sharp for years and needs less fuss. For commercial facades, it gives modern, tailored lines without constant upkeep. And yes—your HOA will usually nod at it.
| Benefit | Why It Matters In SLC | Notes |
|---|---|---|
| Moisture control | Deals with snowmelt and spring rains | Proper flashing prevents leaks |
| UV resistance | High-altitude sun won’t beat it up fast | ColorPlus finishes hold color longer |
| Fire resistance | Added safety during dry spells | Non-combustible fiber cement |
Tools, Materials, And Safety (No Guesswork)
Here’s the thing: fiber cement is tough and heavy. With the right tools, it’s smooth sailing. Without them, you’ll fight it all day.
- Siding and trim: James Hardie HardiePlank lap, panels, and trim boards
- Weather-resistive barrier: Housewrap or building paper, plus flashing tape
- Fasteners: Hot-dipped galvanized or stainless nails; siding-rated screws if needed
- Cutting: Circular saw with fiber-cement blade (4-tooth PCD), or electric shears like Malco/DeWalt
- Layout and install: Level, chalk line, laser level, story pole, siding gauges, 16-in. on-center stud finder
- Sealants: Paintable, high-quality exterior sealant; color-matched where possible
- Finishing: 100% acrylic exterior paint if using primed product
- Safety: Eye and ear protection, gloves, and a NIOSH-approved respirator for dust
Quick safety note you shouldn’t skip: cutting fiber cement makes silica dust. Use shears when you can, cut outdoors, and wear a proper respirator. Honestly, it’s not dramatic—just smart.
Prep The Walls Like A Pro
Good siding can’t fix bad walls. So start here.
- Strip old siding and inspect sheathing for damage or soft spots.
- Replace compromised sheathing and secure loose areas. Think solid and square.
- Install a weather-resistive barrier with shingle-style laps and sealed seams.
- Flash windows and doors with pan flashing, side flashing, and head flashing. No shortcuts.
- Add flashings at penetrations (lights, hose bibs, vents) and use proper sleeves or boots.
- Mark studs for nailing. You’ll thank yourself when panels go up fast.
You know what? Many issues folks blame on “bad siding” are really missing or sloppy flashing. Get that part right and the rest gets easier.
Layout Matters: Straight Lines And Clean Reveals
Clean lines sell the whole look. A little prep here saves headaches later.
- Starter strip: Level and secure along the base line; maintain 6 inches clearance above grade and 2 inches above hard surfaces.
- Reveal planning: Use a story pole to confirm consistent exposures around the building.
- Joint staggering: Stagger butt joints at least two studs apart for a natural pattern.
- Clearances: Maintain required gaps at roofs, decks, and masonry; check the Hardie guide for exact numbers.
It sounds picky. It is. But that’s why finished walls look crisp.
Cutting Hardie Board Without The Mess
Fast and clean cuts make your install sing. Many installers in Utah prefer electric shears since they create almost no dust and leave a smooth edge.
Cutting methods we’ve seen work well
- Electric shears: Malco or DeWalt shears cut quietly and cleanly with low dust.
- Saw with fiber-cement blade: Use PCD blades; cut outdoors; wear a respirator.
- Score-and-snap: Works for thinner lap pieces and small trims; not great for long rips.
One small contradiction: the material is heavy but easy to handle. Sounds odd, right? With two people and siding gauges, sheets and planks line up fast and feel manageable.
Fastening: Nails, Guns, Spacing, And Pattern
Hardie Board siding installation relies on correct fastening. Don’t wing it. Follow the manufacturer specs and local code.
- Nails: Hot-dipped galvanized or stainless. For lap siding, nail into studs.
- Placement: Keep nails 3/4 inch from plank ends and edges; drive flush, not overdriven.
- Gun vs. hand: A quality siding nailer speeds work, but hand nailing works if you stay consistent.
- High-wind notes: On the Wasatch Front, gusts happen; confirm exposure category and nail schedule.
Face-nail or blind-nail? Both are allowed with specific products. Blind nailing hides fasteners; face nailing adds holding power—useful in wind-prone spots or with wider reveals.
Trim Corners, Windows, And Those Tricky Spots
Trim is where projects look custom. Preassemble corner boards when possible, or use factory corner solutions.
- Outside/inside corners: Use fiber cement or PVC trim; keep crisp, even gaps.
- Windows and doors: Backer flashing, then trim, then head flashing with a drip edge. Shingle it all.
- Z-flashing: Mandatory at horizontal transitions—ledges, band boards, panel breaks.
- Roof-to-wall: Kickout flashing sends water away from walls; this saves paint and sheathing long-term.
Let me explain why this matters: most callbacks happen at transitions. Do those right, and your siding stays boring in the best way—no leaks, no warped edges, no swelling.
Seams, Caulking, And Paint That Lasts
People often over-caulk. With fiber cement siding, your first line is joint flashing behind butt joints, then a neat, minimal bead where it’s allowed and needed.
- Butt joints: Flash with approved joint flashing; keep a small gap to allow movement.
- Sealant: Use quality, paintable exterior sealant at trim-to-siding transitions, not on every seam.
- Painting: If you chose primed boards, apply 100% acrylic exterior paint. Sherwin-Williams Duration or similar works well here.
- ColorPlus: If using James Hardie ColorPlus Technology, follow their touch-up kit directions and don’t over-brush.
Utah sun is no joke. Choose lighter, UV-friendly colors if you love low maintenance. Dark colors look amazing but can run warmer; just plan for it.
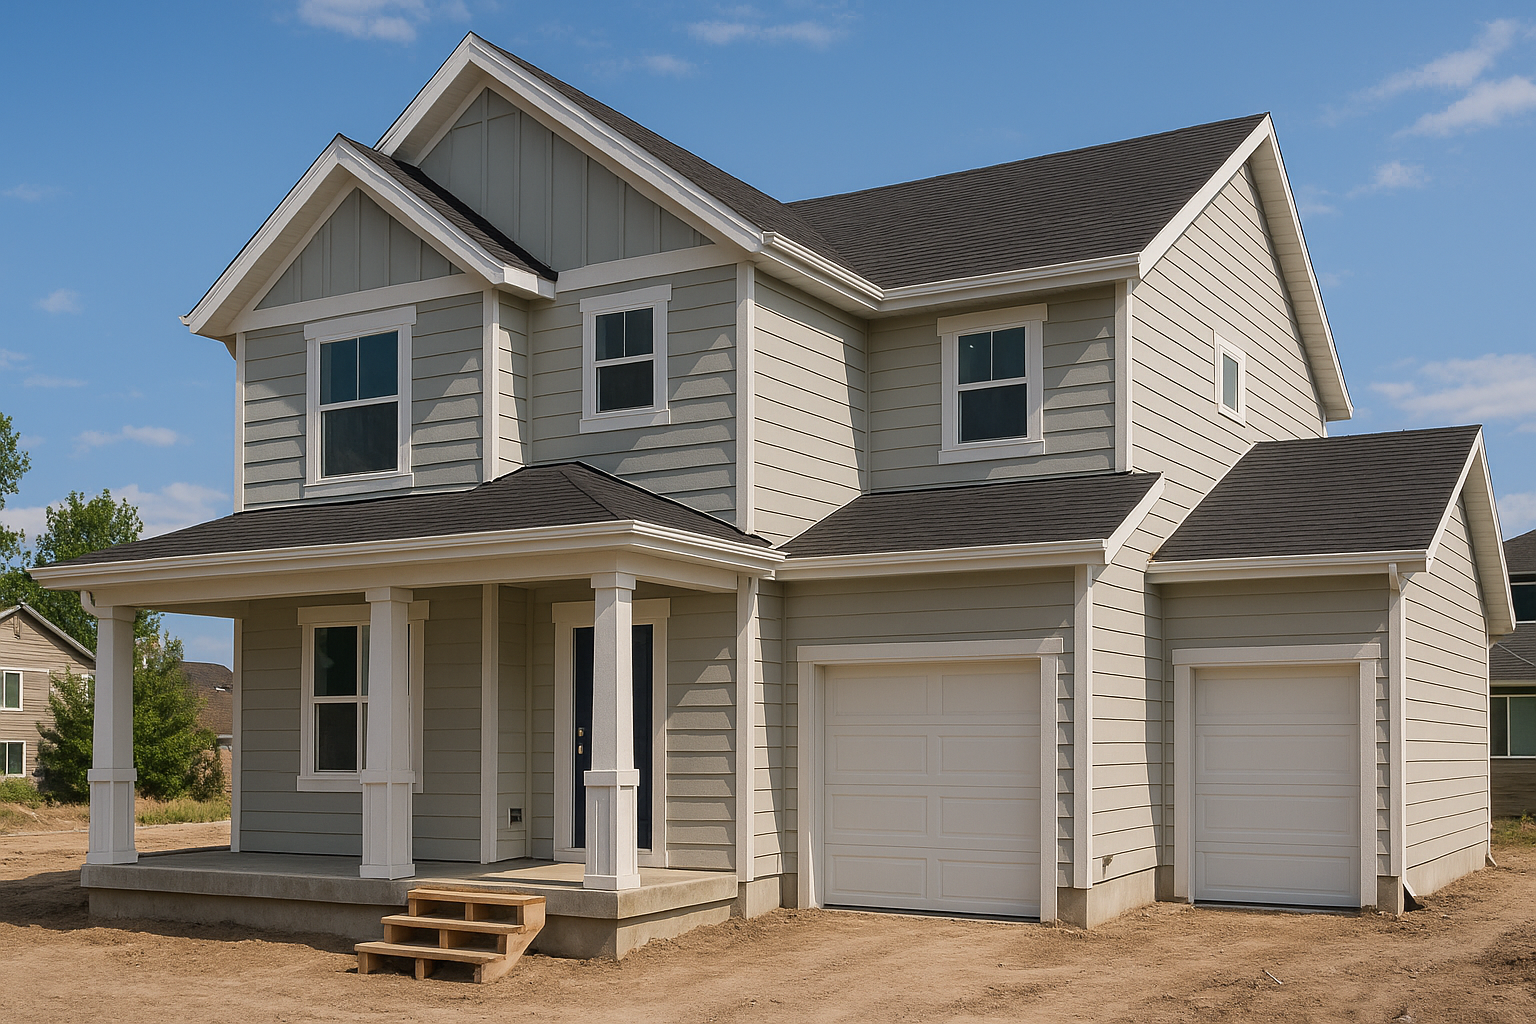
The Step-By-Step Walkthrough
- Walk the site: Check walls, framing, and grade clearances; note tricky transitions.
- Remove old siding: Protect landscaping and windows; dispose of debris safely.
- Repair and square: Fix sheathing, straighten edges, and block where needed.
- Install WRB: Lap and tape per spec; flash openings properly.
- Starter strip: Level at the base, maintain clearances above soil and hardscape.
- Corners and trim: Set corner boards and window/door trim with crisp lines.
- Layout: Mark reveals with a story pole; snap clean, level chalk lines.
- Cut siding: Use shears when possible; collect dust and wear a respirator if sawing.
- Hang planks/panels: Blind or face nail per product; hit studs; keep ends supported.
- Flash joints: Place joint flashing behind butt joints; keep proper gaps.
- Detail transitions: Add Z-flashing at horizontal breaks; protect every penetration.
- Seal where needed: Caulk trim interfaces; don’t smear every joint.
- Finish: Paint primed boards or do ColorPlus touch-ups. Clean the site, inspect, and smile.
From start to finish, this sequence keeps you moving without rework. It also makes inspections go smoother, which is never a bad thing.
Common Utah Mistakes (And How To Avoid Them)
- Skipping clearance: Keep 6 inches above soil and 2 inches above flat concrete. Snow piles count as moisture exposure.
- No kickout flashing: Water funnels into walls without it. Big fix later, tiny detail now.
- Caulk overuse: Joint flashing beats fat beads of sealant every time.
- Overdriven nails: They crush the board; use the right pressure and keep heads flush.
- Ignoring sprinklers: Redirect heads so you’re not power washing your siding daily.
- Painting too cold: Watch temps and cure windows; late fall can be tricky along the Wasatch.
One more: don’t forget HOA approvals in places like Daybreak or the Avenues. It’s paperwork, sure, but it saves you from repainting the whole house in August.
Maintenance: Short List, Big Payoff
- Annual rinse: Garden hose and a soft brush for dust and pollen. No pressure washer close-up.
- Inspect sealant: Check trim joints each spring; touch up as needed.
- Paint life: ColorPlus lasts the longest; primed-and-painted jobs typically refresh every 12–15 years with good prep.
It’s low-key care, which is half the charm. Busy homeowners and managers appreciate that.
DIY Or Hire A Crew? A Straight Answer
Could you DIY Hardie Board siding? Yes—if you’re comfortable with layout, ladders, flashing, and long workdays. A typical 2,000-square-foot home can take an experienced DIYer a few weekends, sometimes more, especially when weather plays games in the fall.
Hiring a certified crew brings speed, cleaner flashing details, and warranties that stick. You also get fewer material losses from bad cuts. At Utah Siding & Exteriors, we stage materials, protect landscaping, and keep your place livable while we work. Honestly, less stress.
What It Usually Costs In The Salt Lake Area
Pricing swings with house size, design details, trim packages, and whether you use ColorPlus or paint on site. Here’s a general sense so you can budget. Your numbers may vary, but this helps frame it.
| Scope | Typical Range | Notes |
|---|---|---|
| Materials only (lap + trim) | $3.50–$6.50 per sq. ft. | ColorPlus on the higher end |
| Full install residential | $10–$16 per sq. ft. | Includes removal, WRB, flashing, install |
| Complex details | +15–30% | Arches, heavy trim, steep lots |
Commercial projects vary a bit more based on access, height, and schedule windows—especially near downtown where staging space is tight. We can tailor a plan that doesn’t interrupt your customers.
Little Extras That Locals Appreciate
Salt Lake has quirks. We set steel or PVC kickouts at roof returns to stop ice-dam drips. We elevate the lowest course more in heavy snow zones. And we pay attention to wind exposure on west-facing gables; they take a beating. Small touches, big difference.
We also help pick color schemes that read well in high sun. Creams and cool grays feel calm here; deep mountain greens look sharp with black trim; and weathered cedar accents pair nicely with fiber cement for that modern-cabin vibe.
Ready To Get It Done? Let’s Talk
If you want a smooth, durable exterior that stands up to Utah’s weather, we’re here to help. Utah Siding & Exteriors installs James Hardie siding for homes and businesses across the Salt Lake Valley—fast, clean, and to spec. We can walk your property, flag risks, and give you a clear plan with timing you can trust.
Call us at 801-509-9241 or tap below to Request a Free Quote. Friendly guidance, clear pricing, and no pressure. Your exterior should feel set-and-forget. Let’s make that happen.